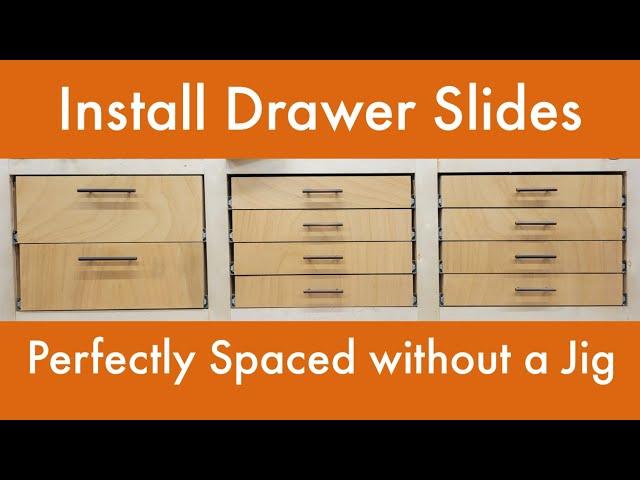
How to install drawer slides quick and simple without jigs or measuring.
Комментарии:

Great video. The drawer side slide spacing is very well identified but unless I missed it how did you determine the size of the spacer between the cabinet slides?
Ответить
Why do the rails have to be mounted on the bottom. Why not the middle so that it's easier to drill for the first rail? Or mount on top of drawer so when things fall to the side it'll act as a stop.
Ответить
I think you did great. Easy to understand. Thanks!
Ответить
First just let me say I'm a beginner. So you gave yourself 1" space for drawers. But when installing bottom drawer you used a 3/4" spacer for slides then a 1/4" spacer to raise drawer box. Don't you have less then a 1" gap for bottom drawer. I'm thinking I would have used a 1" spacer. Again I'm a noob soory!
Ответить
Excellent video!
Best way to make drawer slides - thank you

That shelving unit is genius. I'm stealing the basic idea, but I'm already thinking of a couple of changes that would work for me.Thanks for the idea.
Ответить
Easy peasy lemon squeezee. Nice, repeatable process. Just one thing I would do different. There is a reason the manufacturer went through all the trouble to put those cut outs on the roller frame, and it has to do with installation.
Ответить
I'm using your technique tomorrow on my dresser build! Thanks!
Ответить
You can keep out more dust by just making the front board of your drawer wider and have the drawer close against the outside edge of the frame. You don’t need a decorated front panel and you won’t have a big 1/2 “ gap on each side of your closed drawer. The drawer dimensions remain the same except for a wider front piece of the drawer. There would still be a .125 gap vertically between drawers with the exception of the top and bottom drawer fronts that could be a 1/2” taller to close the gag at the top and bottom of the drawer stack.
Ответить
FANTASTIC VIDEO!! Can't thank you enough. Your cabinets and drawers look great.
Ответить
great!! straight to the point. no bs measuring. no bs calculating.. exactly what i needed. thanks
Ответить
I love your video! It is so DIY friendly! Thank you so much!
Ответить
Great video, quite the hardware collection from what I can see on your lower shelf.
Ответить
New viewer here. Great video. Can you give me any guidance on how to calculate the width of the drawers in relation to the frames taking int account the thickness of the slides? Thank you.
Ответить
perfectly I can't comprehend doing a remove and replace I have drawers and am changing the old slides for these anti-slam slides but have no way to guess where to put the runners inside the cabinet it's to bad I don't have an exact replacement for the old slides I need a technician to do this I'm totally lost I can't even take the slides apart to mount them
Ответить
Great job Robert. Do you have a link to the screws you used to mount the slide to the cabinet. It went by to fast for me to catch the picture on the screw box. Thank you!
Ответить
❤🎉❤
Ответить
Great video, thanks. I still have to find out how to measure drawer faces, but this was a useful.
Ответить
Very cool - how do you do it with face frames though? I get the spacing and the front one is easy - but with a rear mounting bracket? Or do you add spacers on the side to make up the difference? Thanks!
Ответить
Anyone have a link to these slides?
Ответить
Just the video I was looking for. Shortcuts that make sense
Ответить
I will be installing two sets tomorrow and your video was very helpful
Ответить
Hey Robert, another excellent, easy-to-follow video. I've always stayed away from adding drawers to my projects because of the fear of having to install them. Other channels make it seem like you need special tools and jigs in order to get the job done. Now I'll look on your channel to see if you have an easy-to-follow video on how you made the drawers. (If you don't have one, please consider making one). I have a few projects around the shop and home that can use some pull-out drawers. (Edited: I just found the drawer videos) Thanks again for sharing.
Ответить
What measurement did you use to mount the piece on the drawer box?
Ответить
I have also been watching numerous videos on installing bearing drawer slides. This has definitely answered my search and is the solution I was looking for. Thanks for the video. I feel now much more confident that I will be able to successfully install the drawers for my kitchen rebuild project. 👍🏼👍🏼
Ответить
Nice job and very clever to use spacers instead of measuring.
Ответить
Looks good. Simple. I like it. If you made your drawers with a 3/8" overhang left and right on the front it would close the side gap down to about 1/8". Might look a little better and keep even more dust out.
Ответить


