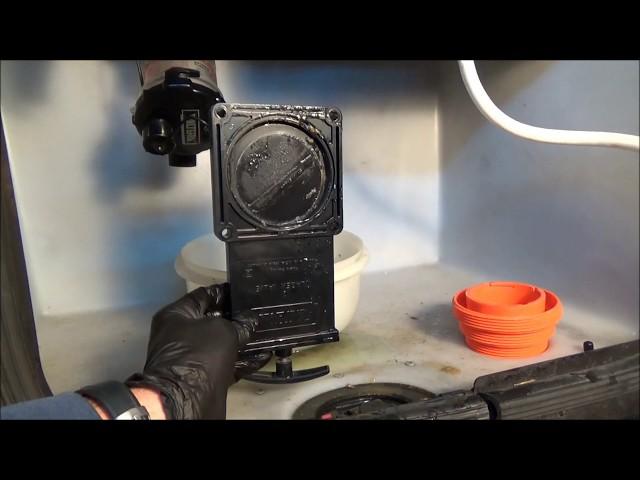
RV WASTE VALVE REPLACEMENT - IT'S EASY !!!!!!!!
Комментарии:

Thank you.
Ответить
Thanks! But I disagree with the words printed over the installation... you should NEVER put the seals on the gate valve first then put it in! You risk damaging the seals.
Ответить
"It's so easy even a cave man could do it". In my case the valve is buried under insulation and a sheet metal underbelly. Extremely hard to get to and work on laying on a creeper with very little room. I cut a path to it and struggled but managed to remove the four bolts but have yet to get the valve out. The piping is solid with no free play to clear the seals. I'm looking for some tips but haven't found any yet. Hopefully I can get the valve out without damaging the flanges but getting a new valve and seals installed looks daunting.
Ответить
Step 1 buy valve, step 2????, step 3 done!
Ответить
You're the moron !!
Ответить
Thanks!
This is the best video I’ve found in this subject.

I think you should drain your black tantrum first
Ответить
Good video but the location of your valves has a lot to do with the ease of install. My valves are inboard with a cable actuator and I also have a small valve for my galley tank on the other end of the trailer. Parts for me for all three would be around $200 and I would have to pull the insulative sheet down which would be a pain in the butt. It's not a job I'm looking forward to but it's still better than taking it to the dealer.
Ответить
Thank you for the info.
Ответить
U left the hard part out 🤌🏼🤌🏼
Ответить
I had to literally a 2in by 3in hole in my frame crossmember to get room to get the valve in
Ответить
Shame on You! You skipped the most important part! How to get the complete assembly in that narrow slot!!!
Ответить
You didn’t show when to apply the silicon grease! It quickly becomes messy, but it’s paramount to apply it.
Ответить
What did you do with the silicone lubricant?
Ответить
Thanks for sharing. As long as one rinses tanks out really good, this is a super easy and clean anyone can do. Save the $$$ from the dealer. Unfortunately some folks have to remove their rv belly to get to these. Motorhomers got it easy ;) ;)
Ответить
Thanks for your video, the best one on this project. Had to watch several times because the rubber seals kept falling off when trying to assemble with them as one piece. Once I followed your video showing putting the seals on first it went easy.
Ответить
Where did you put the silicon lub you said you were using???
Ответить
All you have to do is take off the old assembly, put the new seals in, do something with the lubricant, and then finish the job. How hard could it be?
Ответить
Thank you your video gave me the confidence to do that exact job saved me $250(100 to show up 150 per hr) bucks for a repairman show up, the only thing I would add is to put a good coat of Vaseline on the seals. I will not hit subscribe to your channel. Have a great day..
Ответить
Love the way you cut out the hard part, sliding the new valve into place without pushing out the flanges or spreading apart the pipes. Also I’ll bet those bolts hidden on the back side were a bear too. Cutting out the cussing eliminated 90% of the video.
Ответить
What a Waste of time this video is
Ответить
& what happen when it's half full
Ответить
WHY DO ALL THESE INSTRUCTIONS MORONS SHOW THE BEFORE AND AFTER BUT NOTHING SHOWN OF THE IN BETWEEN????? I want to see you install it tard baby!!
Ответить


