Комментарии:

Fancy
Ответить
Nice! How come i never thought of this!! I'm so lazy i would have left the tape. :)
Ответить
I just measure between centers but that works too
Ответить
Wow I didn’t even know what those keyholes were for. 😢
Ответить
Brilliant…..
Ответить
Great idea the only way it could have been better is if I would have thought of this LOL. Thanks!!!
Ответить
Brilliant!
Ответить
A real time saver 🎉🎉
Ответить
Brilliantly done
Ответить
To think of all the time I wasted ....
Ответить
Genius
Ответить
Unless those adapters are super light, they might just fall off. Gravity!
Otherwise, solid idea.

Great tip for all sorts of similar applications. Thanks!
Ответить
Use a double side tape 🧠
Ответить
I don’t forsee the need for this tip, but it sure is ingenius😂😂
Ответить
measuring tapes exsist
Ответить
After 50 years of DIYing , why the hell didn’t I think of that. Great tip.
Ответить
Clever. I've seen this before but keep forgetting to do it!
Ответить
Bloody great idea! Bravo
Ответить
Amazing where have you been all my life
Ответить
actually if you really wanted to know the final position of your power strip, you should make the masking tape the exact length of your power strip. that way you don't need to estimate and guess...
Ответить
very nice video!
quick and straight to the point
deserves the views and praise

Great tip if you don't have a ruler or measuring tape but just have masking tape?
Ответить
Brilliant
Ответить
OMG!!!! so simple... thank you... lol
Ответить
I stumbled onto this trick years ago. The first time I did it with a piece of paper and taped that down. Then I realised I could just use the tape.
The sheet of paper still works best if you need to line up the holes. Lining the page to the edge of the item you're mounting gives you an edge to level and the spacing from the edge to the holes.
Another trick is to fold a piece of paper into an envelope and tape it under the mark. Catches the dust, assuming it's a vertical surface.

I’ve been doing that for 40 years 😂
Ответить
simple to the point. have a cookie for the algorithm
Ответить
I feel so stupid. Lol. It is amazing how easy this was, and how hard I've made it in the past. Thank you
Ответить
Thats always brilliant as long as the holes in the unit are horizontal. Well I guess most times they are :)
Ответить
Brilliant.
Ответить
very useful tip that job has troubled me greatly over the years thanks dave in the uk,
Ответить
Double sided tape, people are dumb.
Ответить
What size screws to use?
Ответить
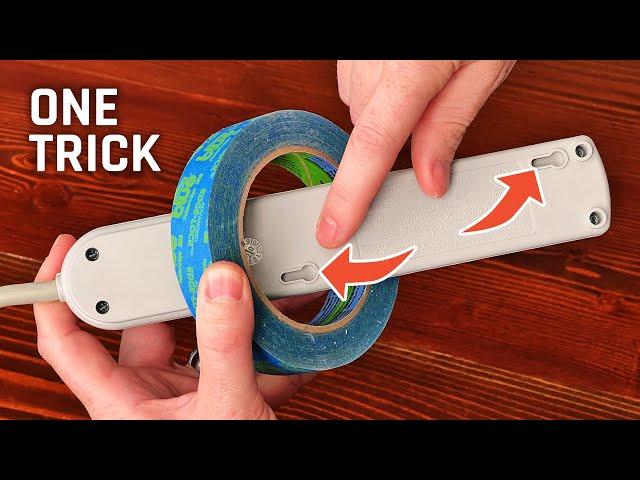
Holes in straight lines aren't very difficult. But I notice that that the title thumbnail shows a device where the holes are not lined up. In that case, while your tip would help at drilling the holes the correct distance apart, I don't see how it would help to place the power strip at the correct right angle.
Ответить
Like 🎉
Ответить
That’s a great tip; thank you. Will definitely use this.
Ответить
Saw the thumbnail image, thought, " well that's a 2 minute tip." Looked at video length; less than 2 minutes. Thank you for keeping it short and to the point. Take my watch and 👍
Ответить
Thanks!
Ответить
Brilliant!
Ответить
Wow. Thank you so much.
Ответить
What are the best screws for mounting these? The ones I use never stay put! Also, how much should remain exposed??
Ответить
very cool.
Ответить
And then put another screw in at the end, so it cant slide back off
Ответить
Great tip
Ответить
Just used this and it worked a charm! Thanks 🙏
Ответить
I usually love your content, but I'm going to call BS on this one. You showed the main problem with doing this in your first shot of the blue tape, when the blue tape was crooked and not parallel with the edge of the table. You corrected it for the second shot, but although this is a decent enough idea, knowing where the holes are is just half of the equation. Still, a better video than 90% of the stuff out there, so kudos to you.
Ответить
My luck: my power strip has offset mounting holes.
Ответить


