Комментарии:

Katie, at the 5 minute mark, in the rotary settings dialog box, you have the A axis selected, is this correct? Shouldn't it be the Y Axis?
Ответить
So glad I found your channel… my rotary has been sitting in the box because I’m clueless how to get started. You explained everything so it makes sense, will be giving it a try today, thanks 😊
Ответить
Hi Katie, have you tried to do a full wrap on a tumbler? I’m stuck trying to work out my steps per rotation. I do the inch square and it’s perfect but then I do a line the circumference of the bottle and it over laps by about 50mm… has me very puzzled!
Ответить
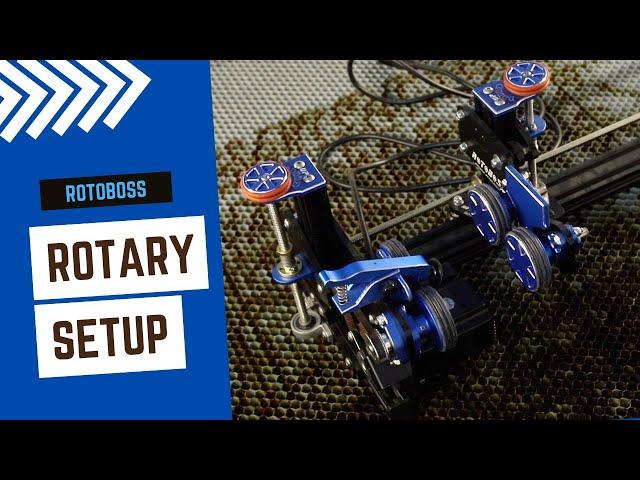
Seems like there would be a way to index the Rotoboss to the honeycomb so that you could pretty much drop it into place each time and get to engraving. Also, curious if regular masking tape would work rather than the more expensive blue painter's tape? I asked on a Facebook group about what size painter's tape people tend to use and, although I didn't get a size yet from anyone, one person commented that they just use regular masking tape for testing due to cost. I have seen very few people in videos using regular masking tape...most use blue tape including in your video. Thanks.
Ответить
Hi Katie, thanks for the great video. I watched this awhile back and wanted to return to see if you were able to figure out why your original settings did not work when you did this video? Just curious as to what happened. I have the rotoboss JR. 2.0. Although my laser has not yet arrived I am reading and watching videos until my eyelids won't stay open LOL. Thanks Katie appreciate your time. --- Bob
Ответить
I thought that you input your roller diameter so it knows it’s size. Then when you input the diameter of the object it adjust the steps per rotation accordingly? Is this correct or no? I’m in the process of buying a rotary I believe. Great video and info
Ответить
Was the steps per rotations setting off between the two bottle types because the rubber wheels are on the threaded portion of the bottle instead of on the wide full diameter part that you are actually engraving? In other words is the diameter of the bottle different for the points touching the drive portion of the rotator?
Ответить
Great video Katie!
Ответить
Hi Katie, just wanted to mention that with roller type rotary you normally don't need to change any settings between different diameter objects. However since you engraving a bottle that has neck diameter that's smaller than body regular settings won't work, because body will rotate "more" than the neck and it will come out stretched. If you were to engrave the neck (I know it's not something that anyone will ever do) then the default settings would work there :) So if you were engraving unform-ish tumblers, like 20 or 30 oz or any other object with larger or smaller diameter, same setting with work for all of them. With bottles you can either find and change your setting (like you did), flip bottle around (remove clamp first) or use a 3D printed adapter that screws on the bottle's threads (you can find those on Etsy). One more tip: You can just draw 1" square on the painters tape, and instead of burning it, you can just position red dot at one of the corners of the square (set origin dot in lightburn to be in the corner as well) and just use Frame button instead. Red dot will outline your square showing you if it's larger or smaller. You can reuse same piece infinitely without worrying about smoke, etc. :)
Ответить